Welcome to the TestModeller.io Microsoft Dynamics 365 tutorial !
In this tutorial we'll be covering how to get started with TestModeller.io for Microsoft Dynamics 365 testing.
A demonstration of Test Modeller for Microsoft Dynamics 365 covered in this tutorial.
TestModeller.io is a browser-based solution that enables users to:
This quick start guide provides an overview for new users to get started with creating automation for a Dynamics 365 application to quickly start creating models and associated automation.
For Dynamics365 this means creating models which automatically generate C# code which can be directly plugged into an automation framework for Dynamics 365.

This section is by no means comprehensive and intended as a quick start guide. If you wish to learn more about modelling we recommend you review our knowledge base along with our video tutorials for a comprehensive guide to creating models and test automation.
The goal is to equip the reader with the working knowledge needed to get started with creating test automation to test their own Dynamics 365 systems and integrate into their own automation frameworks. With TestModeller.io, this means automatically generating complete automated test suites from models that are quick to build and easy to maintain.
Here we'll be installing all the prerequisites you need to get started with test automation for Dynamics 365 through TestModeller.io.
All code created using TestModeller.io uses code templates which define the structure and type of code to be created. Test Modeller provides support for numerous open source frameworks out-the-box made available on the Curiosity Software GitHub page.
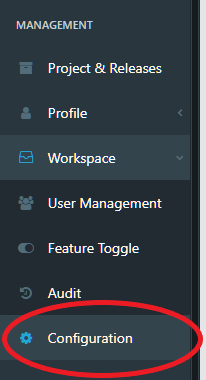
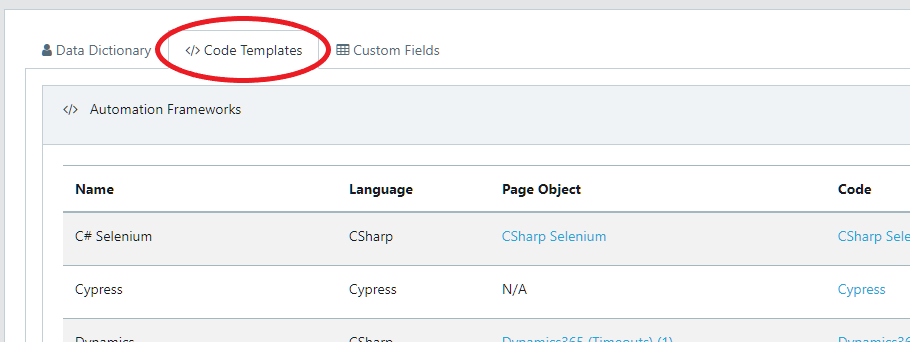
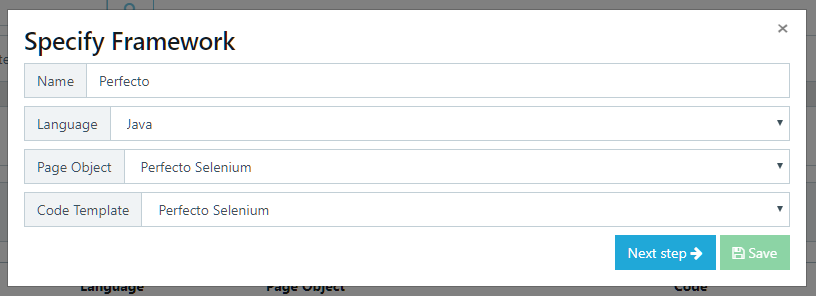
The sample framework provides pre-configured code templates within the ‘Code Template’ directory. To import these into Test Modeller follow these steps or watch the video below.


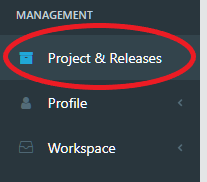
Create a new project within Test Modeller which will be used as a workspace for our page objects and models created for consumption by the automation framework.


Note: This is using the sample framework and configuration provided by Test Modeller. You may have your own automation framework which you wish to utilise. This can be integrated into Test Modeller by configuring your own code templates. A video tutorial is available here.
There is a mismatch between the Chrome Browser installed and the chromedriver instance specified in the project. Update the chrome driver instance 'Selenium.Chrome.WebDriver' in the NuGet project manager to match the version of chrome installed on your operating system.
Dialogs in Dynamics applications are exposed as IFrames. An Iframe is a web page which is embedded in another web page or an HTML document embedded inside another HTML document.
Selenium expects to be told which context (IFrame) the current web driver is to perform the automation in. To achieve this we must switch between IFrame contexts when performing an action.
This can be achieved by directly accessing the web driver within the Dynamics Framework and specifying the ID of the iframe to switch to client.Browser.Driver.SwitchTo().Frame("frameid");. After the action is then performed the context must be reset client.Browser.Driver.SwitchTo().DefaultContent().
You can learn more about using IFrames in Selenium here.